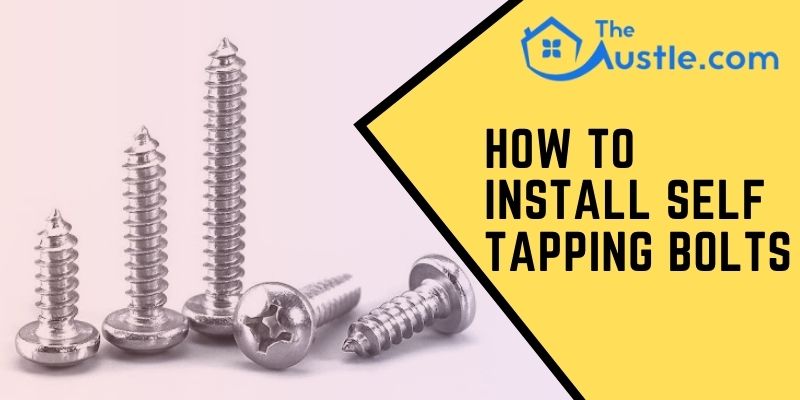
How to install self-tapping bolts may be a common question to ask when you are looking for any types of fastening solutions. Many people tend to use more familiar options rather than exploring for more choice, such as using titanium hex lags bolts.
You can find many varieties in terms of fasteners, so you should explore some more options outside of the usually used method or options that may be rare but perfect according to your needs.
An excellent example of those rare options is self-tapping bolts. Though people always don’t use them, they often come in handy in a large variety of situations according to your needs. In this article, I am going to give a complete guide about self-tapping bolts or self-tapping screws, their uses.
How To Install Self-Tapping Bolts
Before installing a self-tapping bolt or screw, you need to be careful and keep in mind the process so that there will be no mistakes or accidents while and after installing it. I am giving a step-by-step guide to how to install self-tapping bolts so that you can follow to avoid mistakes:
Step 1: Make Sure Of Safety
Be careful while using the power tool. It would be best to put protective eye-wear before beginning to prevent any injury or irritation to your sight. You should make sure that the power switch is turned off the machine before you put it into the plug.
Step 2: Drill The Pilot Hole
Drill a bit before using to create a pilot hole in the item and secure it to the metal. Use a screw that has a slightly smaller diameter than the tapping screw you are using.
Step 3: Maintain Pressure
You have to be careful about your initial pressure during the drill. While you are working on a hard surface, the screw may fall off drilling and running around. In this case, take your time and maintain light pressure. While working on a soft surface, you can produce a little bit of pressure to make a whole ideally at one time.
Step 4: Spin The Tapping Screw
While working on the metal surface, spin the tapping screw. Spinning it will help it to turn itself through the metal surface.
Step 5: Secure The Tapping Screw
Secure the screw to the surface by turning it into a clockwise direction and make sure it is tightly attached to the surface. Avoid over-tightening; it could cause the screw to break also damage the surface.
Types of Self-Tapping Bolts
Self-tapping bolts or screws are similar to the typical screws but also different from those typical and traditional screws. What makes them apart from conventional screws is that they drill their little tunnels by cutting precise threads.
You can use these screws when you need to combine two pieces of materials to maintain a precisely fitted thread. These bolts are mostly used in products that you need to maintain regularly, such as air-conditioning units or canopies, where you need to disassemble and reassemble the items along with the same threads.
There Are Two Types Of Self-Tapping Screws
1. Thread-Forming
To install this kind of screws, you need to drill a pilot hole as the screws do not contain pointed tips.
2. Thread-Tapping
To install this kind of screws, you do not need to drill a pilot hole as the screw itself can create its hole for having a pointed tip.
Self-Tapping Screw Vs Self-Drilling Screw
Many may make confusion between a self-tapping screw and a self-drilling screw. These two may easily be confused as one when the truth is there are some distinct differences between these two.
Self-Tapping Screw
While using a self-tapping screw usually doesn’t require a pilot hole because of its pointed nose. It creates its hole by cutting the thread of the material and secure it to the place. But in case of a blunt nose, flat self-tapping bolts, you need to use your drill to make a pilot hole. Typically, it is used to secure wood, plastic, metal, and brick together.
Self-Drilling Screw
The self-tapping screw doesn’t require any pilot hole because of its drill bit shape point at the end. Using a self-drilling screw accelerates installation time, and you can use it in fastening thin pieces of metal together. For building metal construction and working on metal, you can use a self-drilling screw.
How To Choose The Correct Self-Tapping Screw
To find the right self-tapping screw according to your need, you must know your work and material type. Sometimes it is okay to make mistakes because you can learn from your mistakes. It will help you to learn more about the screw type that which one is appropriate for your work.
You have to keep in mind the thickness of the material and the finishing that you require. If you select a wrong-sized screw for the task you are doing, it may be dangerous. Note that it is easier to work with a larger screw to make a big hole than it is with a smaller one.
There is various kind of self-tapping screw, such as some are pointy nose screw known by bugle heads self-tapping bolts or pan head bolts, and these are typically used to attach plasterboard to wood or metal.
Another type is the blunt or flat nose, known as button head screw used mostly for carpentry work, and flange head screw to attach metal to metal or plastic to plastic. Try to find out the screw that is appropriate for your need and action.
Verdict
A self-tapping screw is a fastening tool that helps us solve our problem of joining different materials with one another. The size of the screw and also its outcome depends on the thickness of the material. This versatile device can secure the wood surface, plastic surface, metal, aluminum, fiberglass, etc. It also works with these surfaces with one another.
In this article, I have described how to install self-tapping bolts, step by step, with things you need to be aware of and be careful.
Maintaining the method described in this article and carefully choosing the right sized screw appropriate for the material you are working on can work in ease. I hope your journey of working with self-tapping bolts will be much more comfortable with this article’s help.
- How To Smooth Out Land – 8 Easy Steps You Can Follow
- How To Mow After Overseeding – 7 Step By Step Best Guide
- How To Hang Up Weed Wacker In The Garage in 4 Easy Steps
- How To Check Compression On Small Engine – 6 Easy Steps To Follow
- How To Find Underground Sprinkler Heads – Easy Guide
- How to Get Rid of Axonopus Compressus – 7 Easy Ways
- How To Mow A Lawn Diagonally -5 Simple Steps