The green grass resident lawn or an amusement park must amaze you instantly. The main hero behind performing all the tasks to make it look polished is a lawnmower, which cuts off the grasses in an even height.
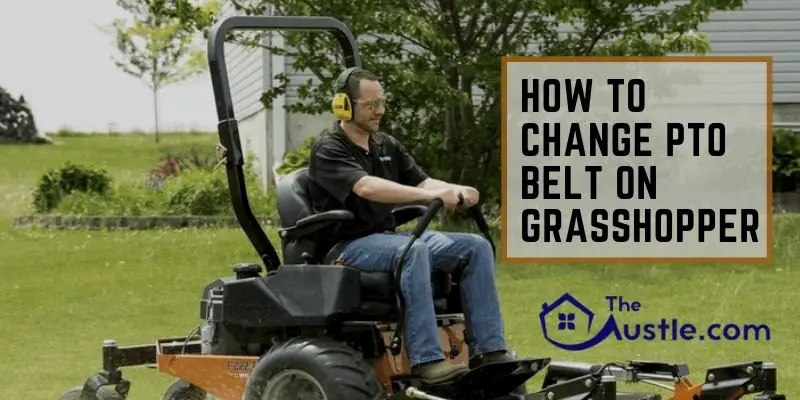
However, dealing with the parts of grasshopper lawn mower is quite a hassle sometimes unless you know how to change PTO belt on Grasshopper, replace and then install them.
Power take-off belt or PTO belt operates the blades in your lawnmower and the engines. In case you start changing the PTO belt without knowing the proper method, it can ruin the new belt as it places near the blade.
So, go through this article to know in detail.
When To Change Your PTO Belt Of Grasshopper
If your lawnmower matches any of the conditions given below, then without wasting time, you should replace your mower’s PTO belt to avoid unnecessary damages.
- Dry rot all over the PTO belt
- The annoying sound of the spoiled machine during working
- Shutting of again and again
- The engine turns in scorching temperature
How To Change PTO Belt On Grasshopper
Here, in this part, we will mention the stepwise guidelines to change the PTO belt on Grasshopper.
What You Need To Do Before Start Changing
Before you start any of the given processes, prepare yourself and the machine to work more comfortably and correctly.
Equipment Needed Before Starting
Even if you are not an expert to change the PTO belt of your lawnmower or maintain it, following the process, you will still be able to do it on your own. Look through the manual given with your machine and, if possible, consult with someone who had successfully done it before.
Place The Mower Vertically To Get Started
As you are going to work in the lower part of a mower, you need to place it vertically so that at your standing point, you can work better in there.
Open Mower Deck
Open the mower deck fully. That’s precisely where all the internal functions take place.
Remove The Previous Spoiled PTO Belt
If the belt’s condition is similar to the given facts earlier, then you surely need to proceed with the change PTO belt on Grasshopper lawnmower.
There are two ways to replace the PTO belt. Follow one whichever seems easier.
Process 1: Replace The PTO Belt Over The Clutch
Step-1: Attach The PTO Belt With Spindle Nut
Start attaching the belt with the main spindle. Use a socket wrench to fit the belt into the spindle nut. You can do it all by bare hands without any risk.
Step-2: Tuck In The PTO Belt Around The Pulley
Now hold the PTO belt tightly right on the pulley, and then while turning wrench belt will correctly fit in the pulley.
A little suggestion is that try to hold the PTO belt with the left hand and keep running the belt with the right side. In this way, the belt has less possibility to loosen.
Process-2: Replace The PTO Belt Under The Idlers
Step-1: Take The Idlers Off
First of all, remove the idlers positioned to your left hand. You can view that idler behind the mower. Use a crowbar to hold that idler onto the upper level. Afterward, involving the spring, you can finally take off the idler.
Step-2: Patch The PTO Belt Around The Pulley
In the second step, the idlers are already off. So it is ready to round up the belt over it. You can take your time and adjust the belt as the idlers are not at work.
Step-3: Put On The Covers
Remove the belt and idler’s cover and keep it back before finishing.
Step-4: Place The Bolt To The Bracket
When you are all done with the patching belt, the bolt, holding the belt, needs to replace by the bracket.
After following any of the processes mentioned, you are now all set to ride your Grasshopper lawnmower.
Warnings
- Before starting, turn off all the electric supply and engines.
- Give the mower sufficient time to cool down.
- Don’t rush while working with wires.
- Make sure not to touch other properties or harm them.
- Keep yourself minimum distant from the blades.
Conclusive Words
For different models of Grasshopper, the instruction may vary slightly. Still, there is no significant change in the act of How To Change PTO Belt on Grasshopper so far. Before performing any replacement or inquiry, follow the manual at it’s best.
End of the process, resupply electricity and give it a test drive. With the smooth mowing and riding, the replacement of the PTO belt seems undoubtedly done.
Turn your messy lawn all posh by using a lawnmower. Getting homely with the user manual and working to fix the belt once or twice will no longer leave you a fresher anymore.
- Exmark vs Scag – Which Is The Best Mower For 2021?
- SAE 30 vs 10W30: Choose The Right One
- Easy Tricks | How To Balance A Lawnmower Blade
- Echo vs Stihl: Completely comparison
- ECHO SRM 280S Vs SRM 280T; The Best Choice
- How To Change A Tire On A Walk-behind Mower: Easy 9 Steps
- Toro vs Exmark: A Comparative Analysis on Top Two Lawn Mower Brands